 Quick start Quick start
When you run the program for the first time, you will see this window:
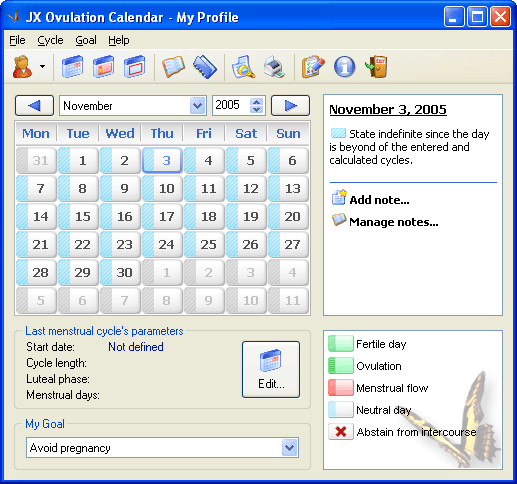
Since no menstrual cycle parameters have been set, the ovulation calendar will not display critical or fertile days. You can set these parameters in the cycle parameters window (with the  button on the toolbar or with the button in the "Menstrual Cycle Parameters" section in the main window) or individually via the "Cycle" item on the main menu. You must enter the following three parameters: your last menstrual cycle's first day, menstrual cycle's average length, and the luteal phase length (if unknown, you may leave the 14 days value as that is the most common value). button on the toolbar or with the button in the "Menstrual Cycle Parameters" section in the main window) or individually via the "Cycle" item on the main menu. You must enter the following three parameters: your last menstrual cycle's first day, menstrual cycle's average length, and the luteal phase length (if unknown, you may leave the 14 days value as that is the most common value).
Next, set your goal, which may be one of the following:
- Avoid pregnancy.
- Conceive.
- Conceive (girl desired).
- Conceive (boy desired).
You can set your goal by selecting one on
the drop-down list in the "My Goal" section or via the "Goal"
menu item.
Once you have set your menstrual cycle parameters and goal,
the ovulation calendar in the main window will display state for each day:
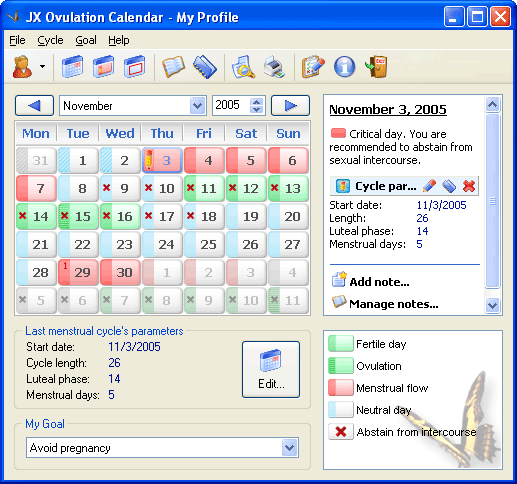
You can now read comments and detailed information for each day by
clicking on the desired cell on the calendar. The information
window at the right will display the medical comment and
recommendation for selected day. Current cycle’s parameters for the selected day are displayed there as well.
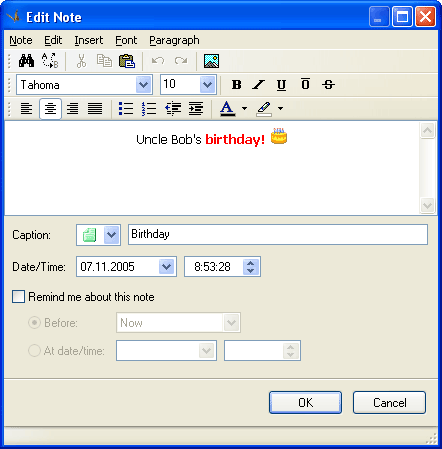
You can also add a note for the date by clicking on the  Add note... button and entering the text in the editor window that appears: Add note... button and entering the text in the editor window that appears:
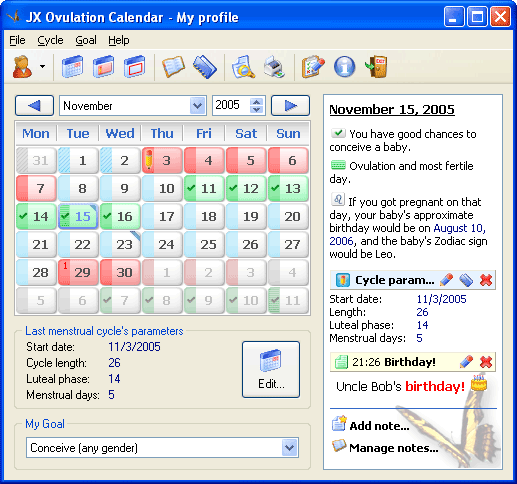
After that's done, the note will appear in the main window:
Now you can print the current month calendar. To print current month
instantly, click the  button on the toolbar or select
the "File/Print" item on the menu. You can also open the preview
window and edit printing settings (by clicking the button on the toolbar or select
the "File/Print" item on the menu. You can also open the preview
window and edit printing settings (by clicking the  button on the toolbar or selecting the "File/Preview..." item on
the menu): button on the toolbar or selecting the "File/Preview..." item on
the menu):
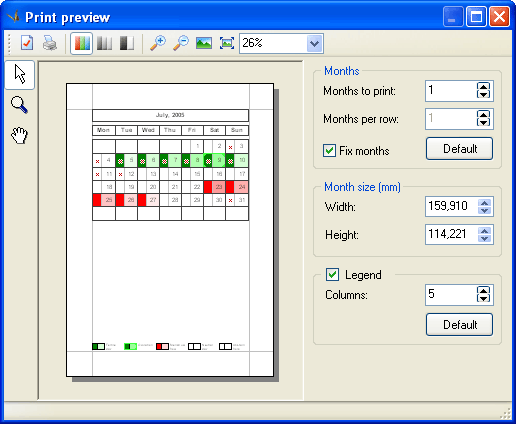
Click on the ovulation calendar rectangle; this will draw 8 little square dots
around the calendar, which allow you to resize the fertility calendar. Click on the
bottom right dot and hold the mouse button down, drag that dot to change
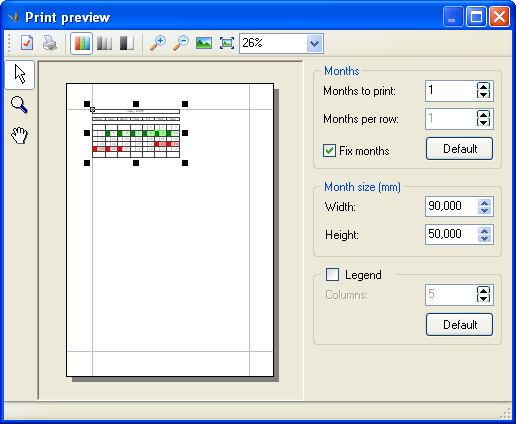
the size to desired and then let the mouse button go. Disable the legend
flag (at the window's bottom) unless we need it. The window will look like
this:
Click the  button to open the page settings window where you can change paper size,
orientation, and margins or choose another printer. Then simply send the ovulation
calendar we've got to printer by clicking
  . .
|